
If you've ever clicked a button like:
“Continue with Google”
you've probably interacted with OAuth 2.0, even if you didn't realize it.
OAuth 2.0 is everywhere.
It's used in applications that need to access resources from another service without asking users to hand over their password.
For example, a third-party application might want permission to access your Google account data.
Instead of giving that application your Google password, you authorize access through Google's own authorization system.
That's the basic idea behind OAuth.
But once you start reading about things like:
Authorization Code
Access Token
Refresh Token
Client ID
Redirect URI
it can quickly feel confusing.
So let's start from the beginning.
What Is OAuth 2.0?
OAuth 2.0 is an authorization framework that allows an application to obtain limited access to resources on behalf of a user or another party without exposing the user's credentials to the application requesting access.
That definition sounds technical.
Here's a simpler version:
OAuth lets you give an application permission to access something without giving the application your password.
For example, imagine you're using a new productivity application.
It asks:
“Allow this app to access your Google Calendar?”
You click Allow.
The productivity application doesn't receive your Google password.
Instead, it receives a token that represents the access you granted.
That token can then be used to access permitted resources.
OAuth 2.0 Is Mainly About Authorization
This is an important point.
OAuth 2.0 is primarily an authorization framework.
It answers:
“What is this application allowed to access?”
It does not, by itself, solve the entire problem of:
“Who is this user?”
That's where many beginners get confused.
For user authentication and identity, OpenID Connect (OIDC) is commonly used on top of OAuth 2.0.
A simple way to remember it:
OAuth 2.0 → Authorization
OpenID Connect → Authentication / Identity
We'll come back to this later.
A Real-World Example
Let's say you're using a fitness application that wants to access your Google Fit data.
The flow might look like:
You
 ↓
Fitness App
 ↓
Google Authorization Server
 ↓
You approve access
 ↓
Access Token
 ↓
Fitness App
 ↓
Google API
The fitness app gets permission to access specific resources.
It does not need your Google password.
That's the key benefit.
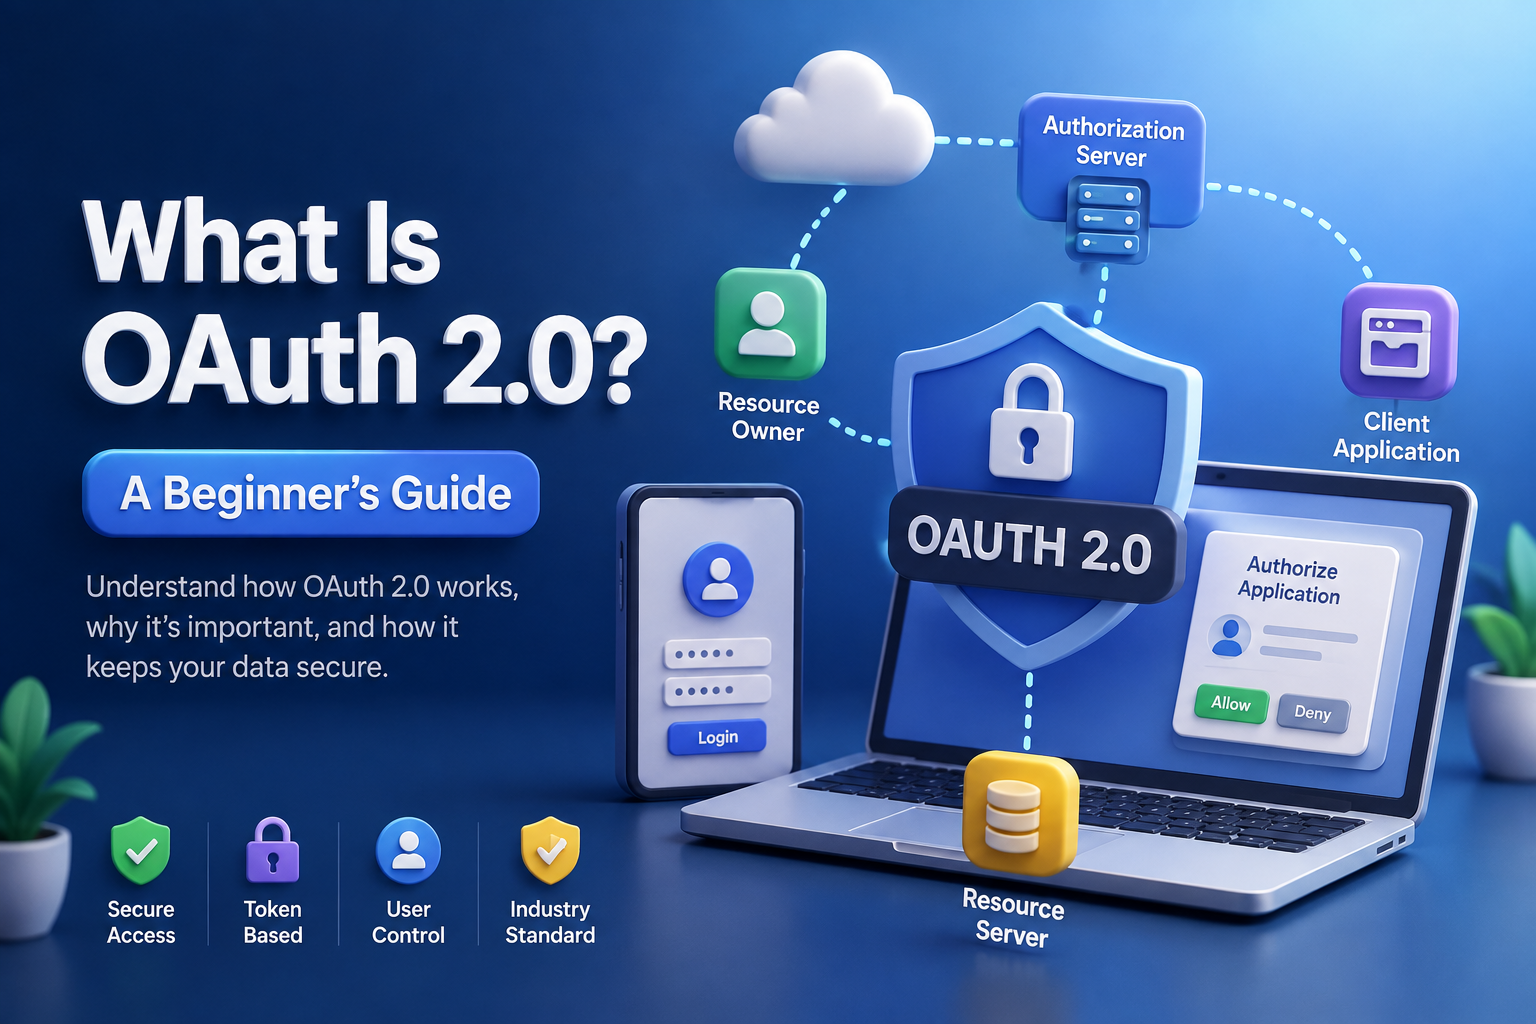
The Main Roles in OAuth 2.0
OAuth becomes much easier to understand when you know the four main roles.
1. Resource Owner
Usually, this is the user.
The resource owner owns the data or resources being accessed.
For example:
You own your Google Calendar data.
2. Client
The client is the application requesting access.
For example:
A calendar management application.
Don't let the word “client” confuse you.
It doesn't necessarily mean a frontend application.
A client could be a web application, mobile application, desktop application, or another service.
3. Authorization Server
The authorization server is responsible for authenticating the resource owner when appropriate and issuing tokens after authorization is granted.
Examples include identity platforms provided by companies such as:
Google
Microsoft
Okta
Auth0
The exact architecture can vary by provider.
4. Resource Server
The resource server hosts the protected resources.
For example:
Google API
   ↓
Calendar Data
The resource server receives the access token and determines whether it can be used to access the requested resource.
Putting the Roles Together
Here's a simple picture:
Resource Owner
      ↓
    Client
      ↓
Authorization Server
      ↓
 Access Token
      ↓
Resource Server
      ↓
Protected Resource
That's OAuth at a high level.
Why Do We Need OAuth?
Before OAuth-style delegated access, applications often asked users to share credentials with third-party applications.
Imagine this:
“Give me your Google username and password so my application can read your calendar.”
That's obviously a bad idea.
You would be giving your credentials to an application that may not need full access to your account.
OAuth provides a better model.
Instead:
“Allow this application to read your calendar.”
You can grant limited access.
And depending on the provider and implementation, access can later be revoked.
Access Tokens
The most important concept in OAuth is probably the access token.
An access token represents authorization granted to a client.
For example:
Access Token:
eyJhbGciOi...
The client can use the token when calling the protected API.
For example:
GET /api/calendar
Authorization: Bearer <access_token>
The resource server validates the token according to the deployment's security model and determines whether the requested access is allowed.
The token is not necessarily the user's password.
That's an important distinction.
What Are Scopes?
OAuth often uses scopes to limit what a client can access.
For example:
calendar.read
calendar.write
profile.read
Suppose an application only needs to read your calendar.
It shouldn't necessarily request permission to delete or modify calendar events.
So the application might request:
calendar.read
This is an example of least privilege.
Give the application only the permissions it actually needs.
Scopes are one of the mechanisms used to express those permissions.
What Is a Refresh Token?
Access tokens are commonly short-lived compared with long-term user sessions.
So what happens when an access token expires?
The application may use a refresh token to obtain a new access token, provided the authorization server issued one and the relevant conditions are still satisfied.
Conceptually:
Access Token
     ↓
Expired
     ↓
Refresh Token
     ↓
New Access Token
This allows an application to maintain access without requiring the user to authorize the application every few minutes.
Refresh tokens are sensitive credentials and should be stored and handled carefully.
The OAuth 2.0 Authorization Code Flow
One of the most important OAuth flows to understand is the Authorization Code Flow.
A simplified version looks like this:
User
 ↓
Client
 ↓
Authorization Server
 ↓
User Login / Consent
 ↓
Authorization Code
 ↓
Client
 ↓
Token Endpoint
 ↓
Access Token
Let's break that down.
Step 1: User Starts Authorization
The user clicks:
“Connect with Google”
The application redirects the user to the authorization server.
Step 2: Authorization Server Handles Authentication and Consent
The user may log in and see something like:
“This application wants permission to read your calendar.”
The user approves or rejects the request.
Step 3: Authorization Code Is Returned
If access is approved, the authorization server redirects the user back to the client with an authorization code.
For example:
https://example.com/callback?code=abc123
The code is temporary.
It's not the long-term access token the application uses to call the API.
Step 4: Client Exchanges the Code
The client sends the code to the token endpoint.
Depending on the flow and client type, additional parameters are used to protect the exchange.
A simplified request might look like:
POST /oauth/token
with data containing the authorization code and other required values.
Step 5: Authorization Server Returns Tokens
The server may return:
{
  "access_token": "eyJhbGciOi...",
  "token_type": "Bearer",
  "expires_in": 3600,
  "refresh_token": "..."
}
The client can then use the access token to call the protected API.
What Is PKCE?
If you're learning OAuth 2.0 today, you will likely encounter PKCE, pronounced “pixy.”
PKCE stands for:
Proof Key for Code Exchange.
It's an extension to the Authorization Code flow designed to protect the authorization code exchange, especially for public clients such as mobile and browser-based applications.
The simplified idea is:
Client creates secret verifier
       ↓
Creates challenge
       ↓
Sends challenge in authorization request
       ↓
Gets authorization code
       ↓
Sends code + verifier
       ↓
Authorization Server verifies
The client proves that the party exchanging the code is the same one that started the authorization request.
For modern OAuth implementations, PKCE is an important security concept to understand.
What Is a Client ID?
A Client ID identifies the OAuth client to the authorization server.
For example:
client_id = abc123
Think of it as:
“Which application is requesting authorization?”
It's generally not treated as a secret.
That's different from a client secret, which may be used by confidential clients and must be protected appropriately.
Client Secret vs Client ID
This distinction is important.
Client ID
Identifies the application.
Client Secret
Proves the application to the authorization server in contexts where the client can securely keep a secret.
A browser application cannot safely keep a traditional client secret confidential because users can inspect its code.
That's one reason public clients use mechanisms such as PKCE.
What Is a Redirect URI?
During OAuth authorization, the authorization server needs to know where to send the user after the authorization process.
This location is called the redirect URI or redirect URL.
For example:
https://example.com/oauth/callback
The redirect URI should be registered and validated according to the authorization server's rules.
Why?
Because an attacker shouldn't be able to simply replace the callback URL and steal an authorization response.
Redirect URI validation is an important security control.
OAuth 2.0 vs API Keys
You might be wondering:
“Why not just use an API key?”
API keys are useful for many scenarios.
They're often used to identify an application or control access to an API.
OAuth becomes more useful when you need delegated access where a user authorizes an application to access specific resources on their behalf.
For example:
API Key:
“This application is allowed to call this API.”
OAuth:
“This application is allowed to access these resources on this user's behalf.”
The right mechanism depends on the use case.
OAuth 2.0 vs JWT
Another common confusion is:
“Is OAuth the same thing as JWT?”
No.
OAuth 2.0 is an authorization framework.
JWT (JSON Web Token) is a token format.
An OAuth access token can be a JWT, but it doesn't have to be.
Similarly, JWTs can be used in systems that don't use OAuth.
Think of it like this:
OAuth → How authorization works
JWT → How certain token information may be represented
They're related concepts, but they're not interchangeable.
OAuth 2.0 vs OpenID Connect
This is one of the most important distinctions for beginners.
OAuth 2.0 answers:
“What is this client allowed to access?”
OpenID Connect adds an identity layer and answers:
“Who is the user?”
For example, when you click:
“Sign in with Google”
the application may use OpenID Connect to authenticate you.
OAuth provides the underlying authorization mechanisms used in the broader flow.
So when building a login system, don't assume that plain OAuth 2.0 is automatically a complete authentication solution.
Common OAuth 2.0 Use Cases
OAuth is useful in many situations.
Social Login and Identity
Applications can use OAuth-related flows with OpenID Connect to let users sign in through identity providers.
Third-Party API Access
An application can request access to resources from another platform.
Examples include:
Calendar data
Cloud storage
Email
Contacts
Social media resources
SaaS Integrations
Imagine your SaaS product needs to connect to a customer's:
Google Workspace
Microsoft 365
CRM
Project management platform
OAuth can allow the customer to authorize that connection without giving your application their platform password.
Mobile Applications
Mobile applications frequently need secure delegated access to backend APIs or third-party services.
With modern public-client flows, PKCE is especially relevant.
OAuth 2.0 Security Best Practices
OAuth can be secure when implemented correctly, but there are several details that matter.
Use HTTPS
OAuth requests and callbacks should be protected with TLS in production.
Use PKCE
For modern Authorization Code flows, especially public clients, use PKCE according to the authorization server's supported best practices.
Validate Redirect URIs
Don't accept arbitrary callback URLs.
Request Minimal Scopes
Only request the permissions the application actually needs.
For example:
profile.read
is better than requesting broad permissions without a clear reason.
Protect Refresh Tokens
Treat refresh tokens as sensitive credentials.
Don't expose them unnecessarily to browser JavaScript or logs.
Don't Put Tokens in URLs
Avoid exposing access tokens in URLs where they could end up in browser history, logs, analytics systems, or referrer data.
Validate State
OAuth clients should use the state parameter to help protect the authorization response from request forgery attacks.
For OIDC, use appropriate nonce handling as well.
Common OAuth Mistakes
1. Treating OAuth as Authentication
OAuth is primarily about authorization.
If you need identity, understand and implement OpenID Connect where appropriate.
2. Storing Tokens Carelessly
Tokens are sensitive.
Don't put them into logs, source code, or insecure client-side storage without considering the threat model.
3. Asking for Too Many Permissions
Don't request access to everything just because the provider allows it.
4. Skipping PKCE
Modern public-client applications should use appropriate protections for authorization code exchanges.
5. Accepting Any Redirect URL
Redirect URI validation is a critical security control.
6. Assuming All OAuth Providers Behave Exactly the Same
OAuth has standards, but provider implementations and capabilities can differ.
Always check the provider's documentation.
Is OAuth 2.0 Complicated?
At first, yes.
There are a lot of terms:
Client
Resource Owner
Authorization Server
Resource Server
Scope
Access Token
Refresh Token
Authorization Code
PKCE
Redirect URI
But once you understand the basic story, it becomes much easier:
A user gives an application permission to access something.
The authorization server manages that permission.
The application receives a token.
The token is used to access protected resources.
That's the core idea.
A Simple Mental Model
Imagine you're staying at a hotel.
You have your identity.
The front desk verifies who you are.
Then they give you a key card.
The key card doesn't contain your passport.
It simply gives you access to certain rooms.
Maybe:
Your room → ✅
Gym → ✅
Staff room → ❌
That's similar to the relationship between authentication, authorization, and tokens.
The important idea is:
Don't give every application your master key.
Give it only the access it actually needs.
Final Thoughts
OAuth 2.0 can sound intimidating when you first encounter it.
There are tokens, scopes, authorization codes, redirect URIs, PKCE, clients, authorization servers, and resource servers.
But the core idea is straightforward:
Let users grant applications limited access without sharing their credentials with those applications.
Once you understand that concept, the rest starts to make much more sense.
And one distinction is worth remembering:
OAuth 2.0 is primarily about authorization.
OpenID Connect adds an identity layer for authentication.
Understanding that difference alone can prevent a lot of confusion when designing login systems and API integrations.
For developers, OAuth becomes especially important when building:
SaaS products
API integrations
Mobile applications
Enterprise applications
Third-party integrations
Systems that need delegated access
Don't try to memorize every OAuth parameter immediately.
Start with the flow.
Understand who is involved.
Understand what the user is granting.
Understand how tokens are issued and protected.
Then the implementation details become much easier to reason about.